Nunor Bora

Avatar photoAuthorSalmaCategoryDifficultyAdvanced

Nunor Bora: Bangladeshi deep fried savoury bites. These are one of my all time favourite snacks which we as a family enjoy all throughout the year. This is a staple dish during Eid and Eid would not be the same without these delicious bites. These are made with ground rice flour, plain rice flour, ginger & salt. It is a long process to make these but I hope my recipe will make your experience much easier. Again this recipe is passed on to me from my lovely mother.

Yields20 Servings
Prep Time2 hrs 30 minsCook Time30 minsTotal Time3 hrs

For Dough
 700 g Ground Rice Flour
 700 g Rice flour
 3 ½ inches of Ginger
 3 Onions medium
 Salt to taste
 1 ¼ tsp Tumeric powder
 900 ml Cold water
 1 tsp Nigella seeds/Kalonji (optional)
 6 tbsp Fresh coriander
For Pastry
 Extra rice flour
 Pastry cutters/Biscuits cutters
 Rolling pin
 Food bags to freeze them in

1

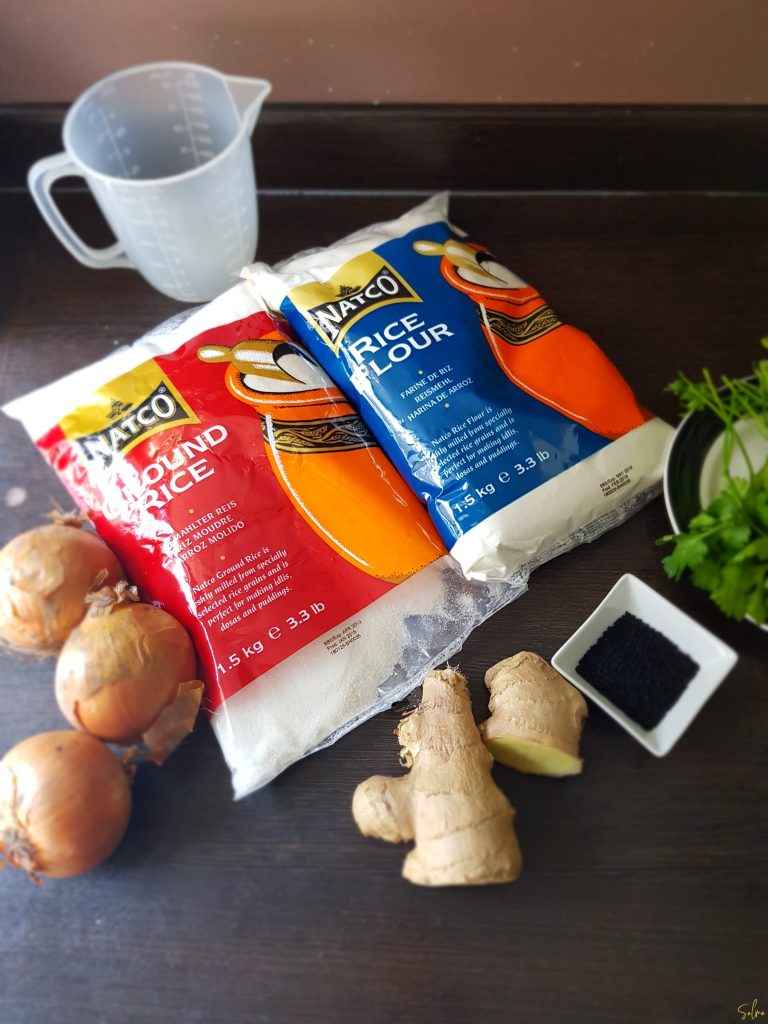
Here are the ingredients I've used.

This is my mum's recipe and she uses two types of flour for a nice texture for the dough to give it a crisper taste. If you prefer to use the smooth flour only then double the measurement to make a generous amount like me.

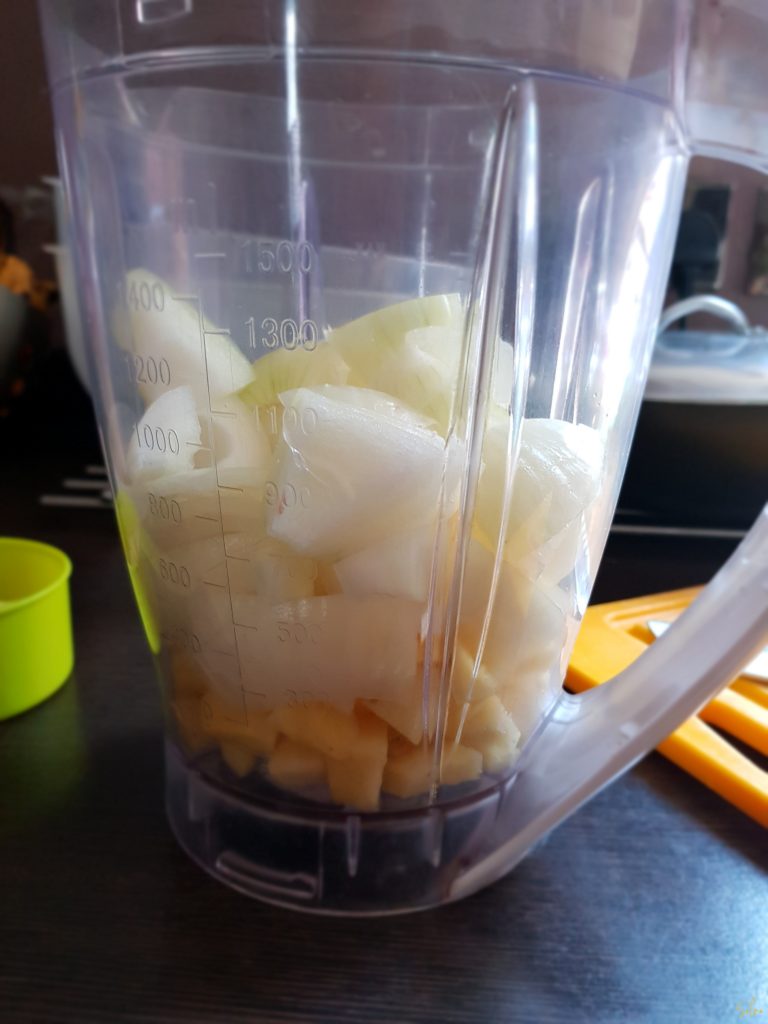
Peel the onions and cut them in big cubes. Peel the ginger and chop them in small cubes. As a guide you should have just under one cup of ginger or a bit more.
2

Place them in the blender, add a little amount of cold water and blend this into a thick paste.
3

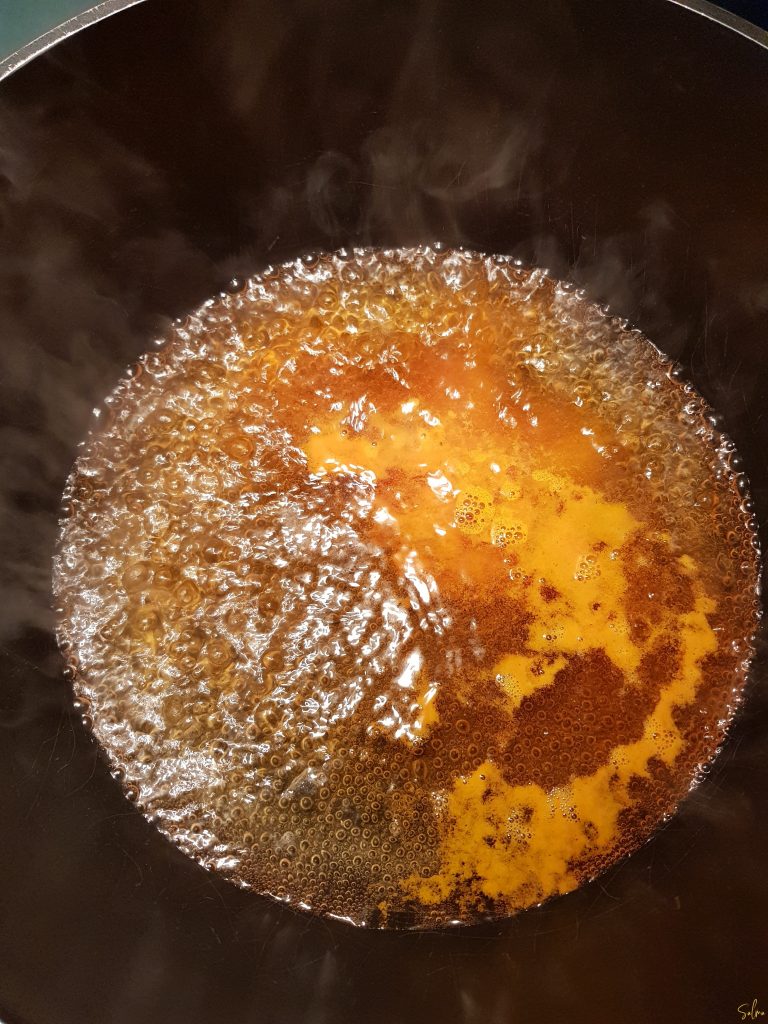
In a big high up non stick pot, add 900ml of cold water, put the gas up and bring this to boil. Once the water starts boiling, add in 1 & 1/4 Tsp of tumeric powder.
4

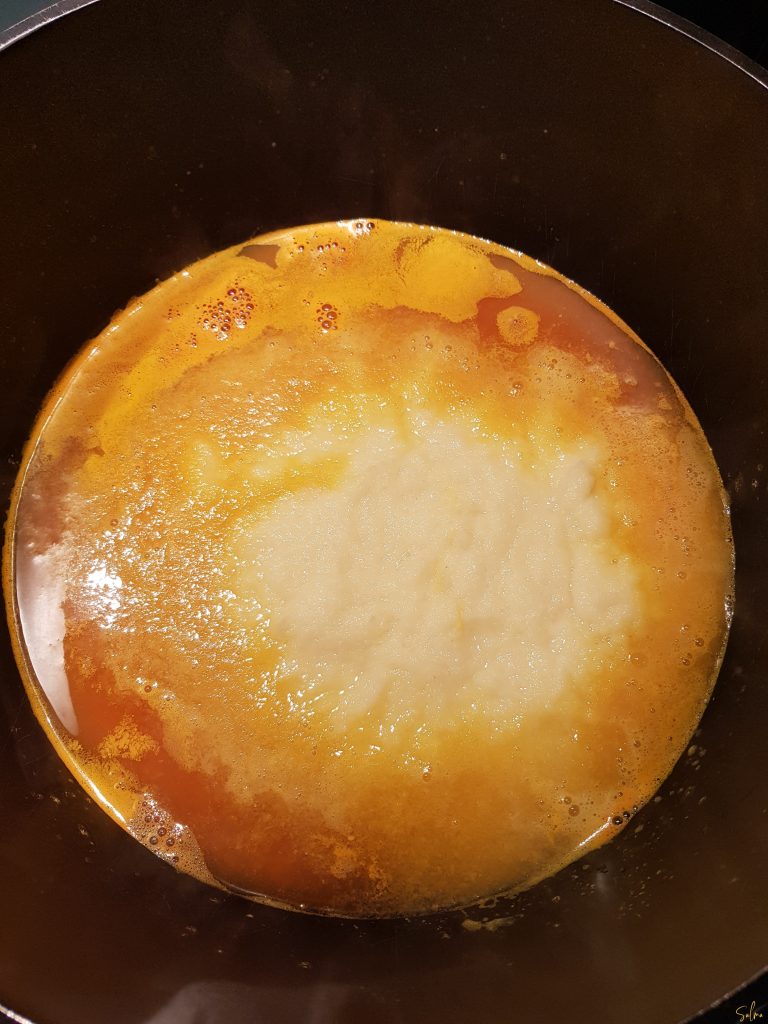
Add in the salt to taste, onion & ginger paste. You don't have to mix this in.
5

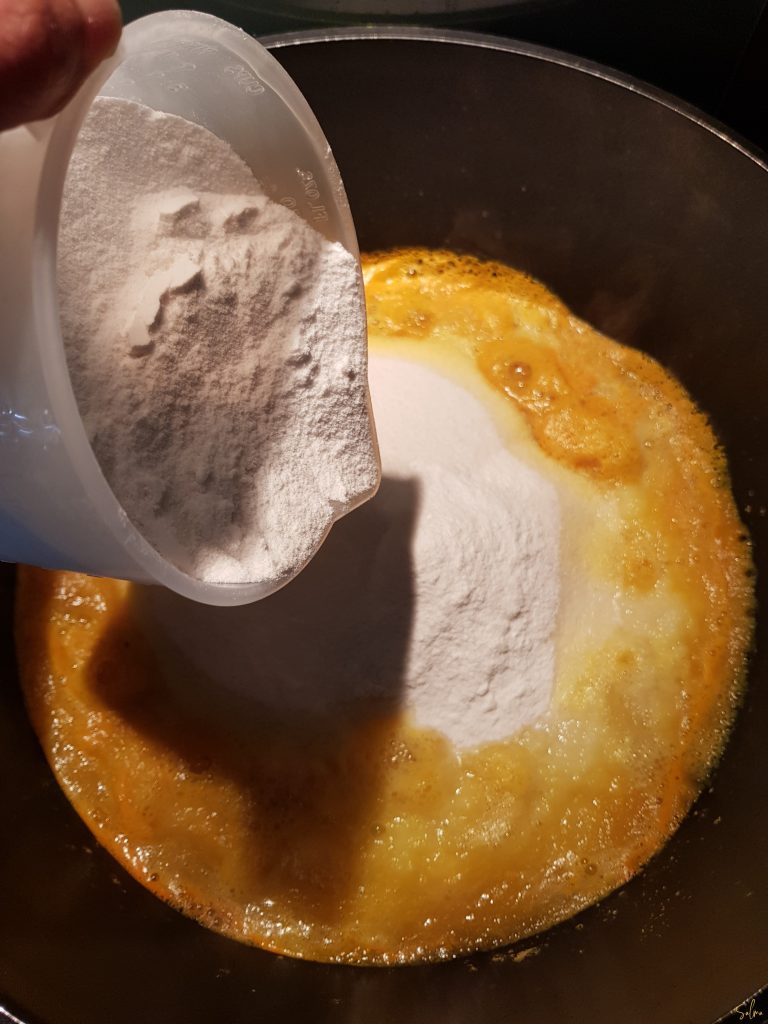
Add in the flours- 700g from each packet.
6

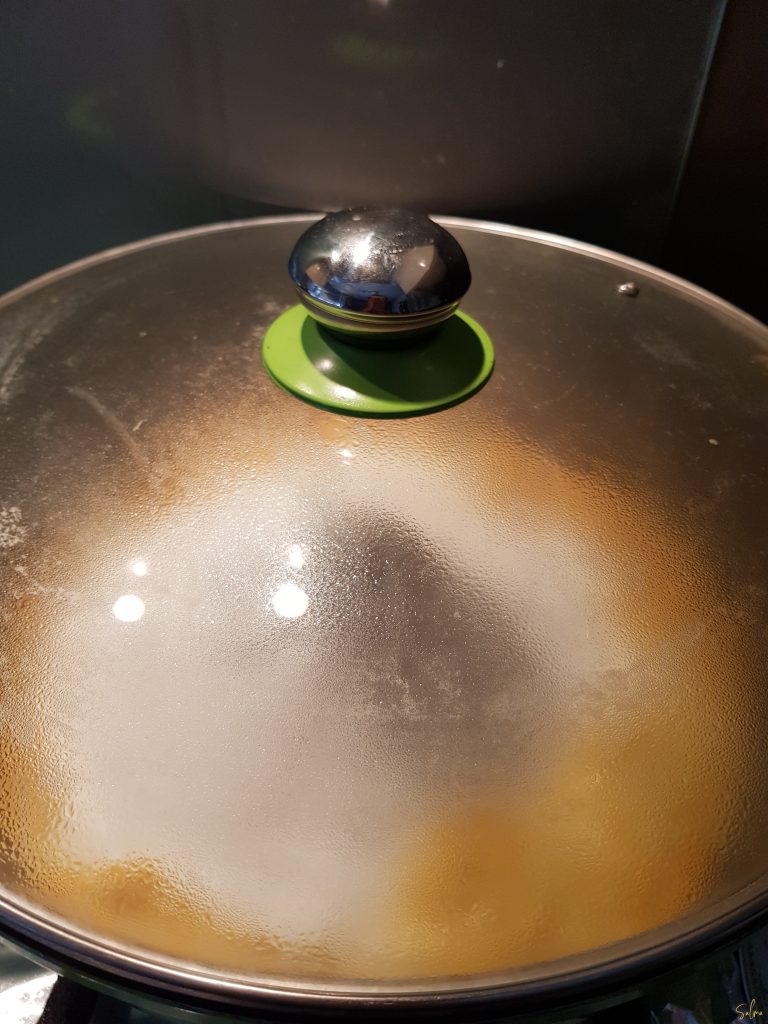
Put the gas up, cover and cook. The mixture will start bubbling up.
7

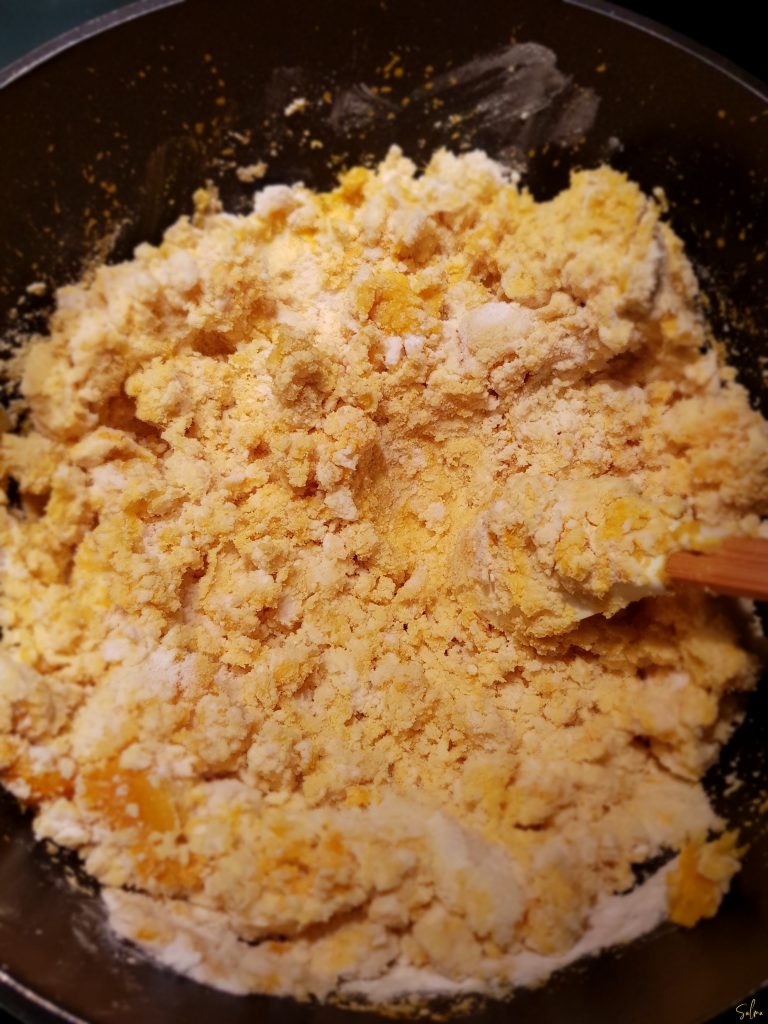
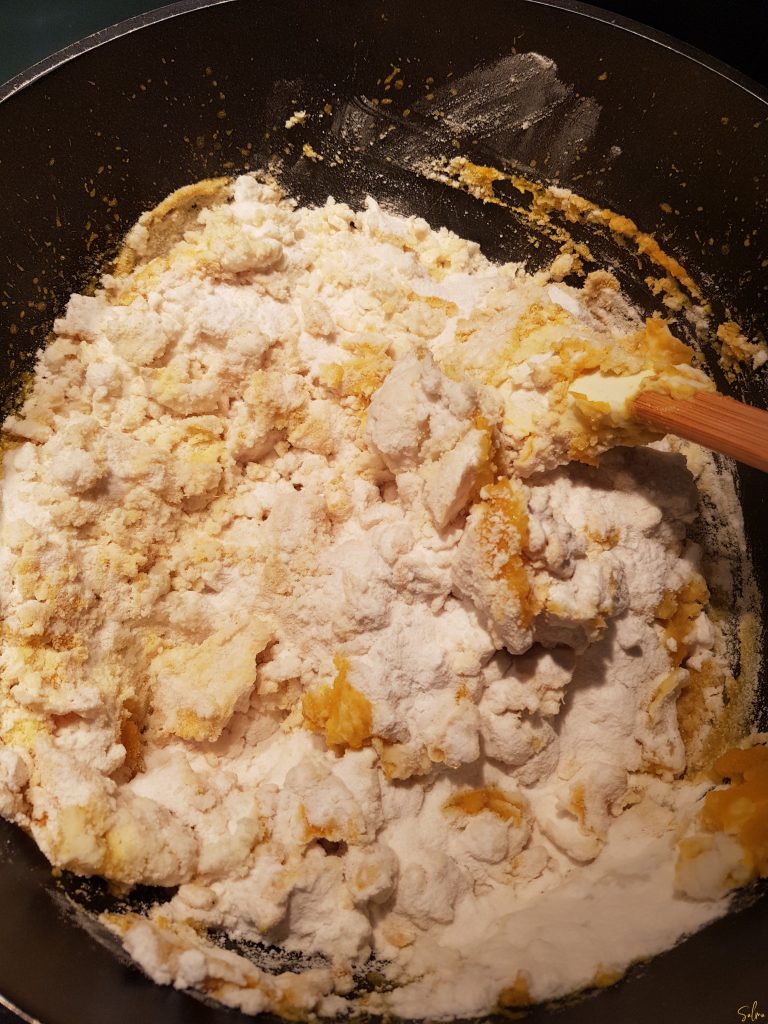
Once it starts bubbling up, uncover and give it a good mix.
8

Should look like this.

9

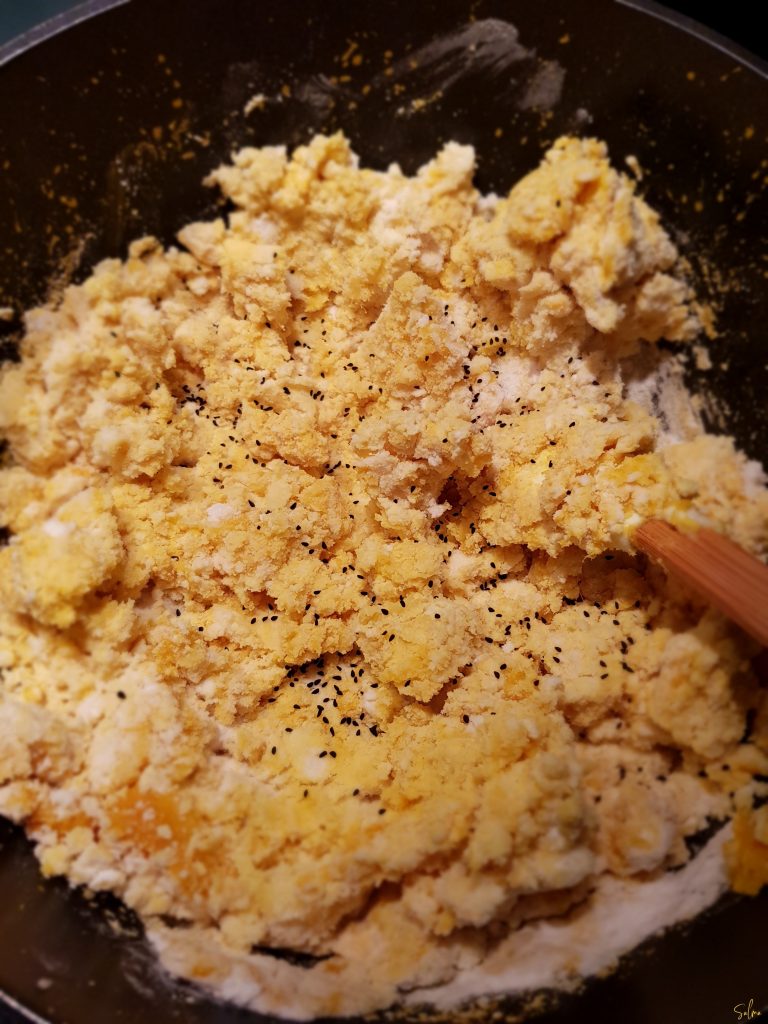
At this point you can add the nigella seeds & coriander. I added nigella seeds only and only added coriander to half of the batch while kneading it.

At this stage you can also taste the salt and add more if required.
10

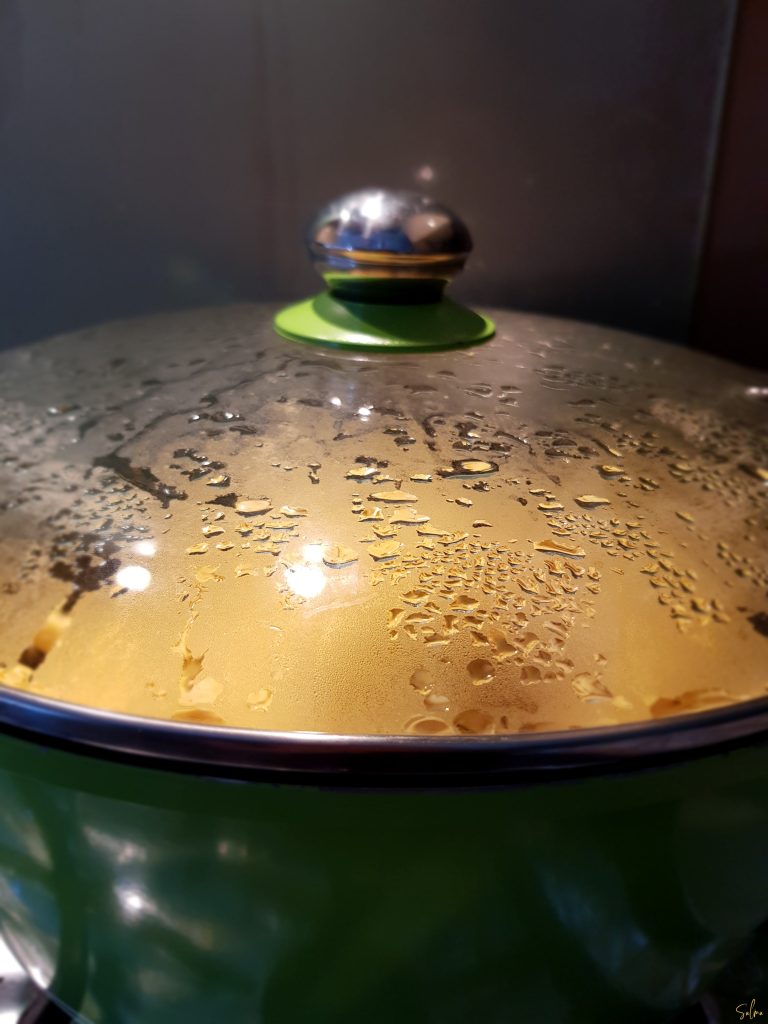
Mix again properly and cook covered on low heat for 15-20 minutes so the dough cooks fully.
11

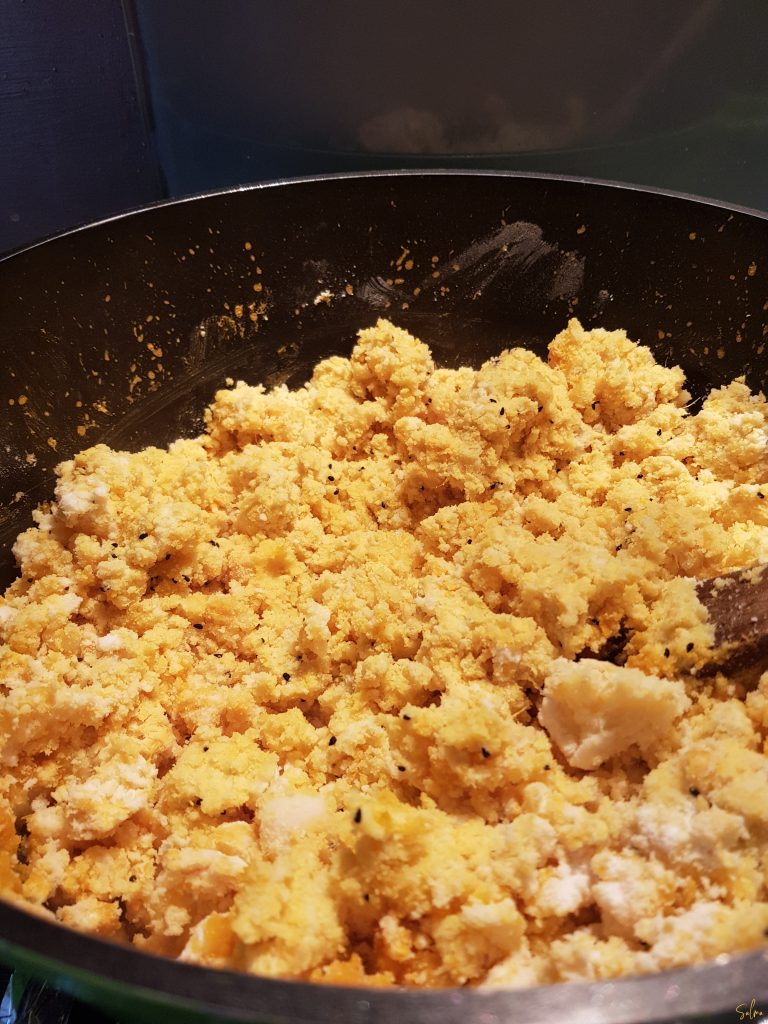
Once the dough is cooked, turn the gas off.
12

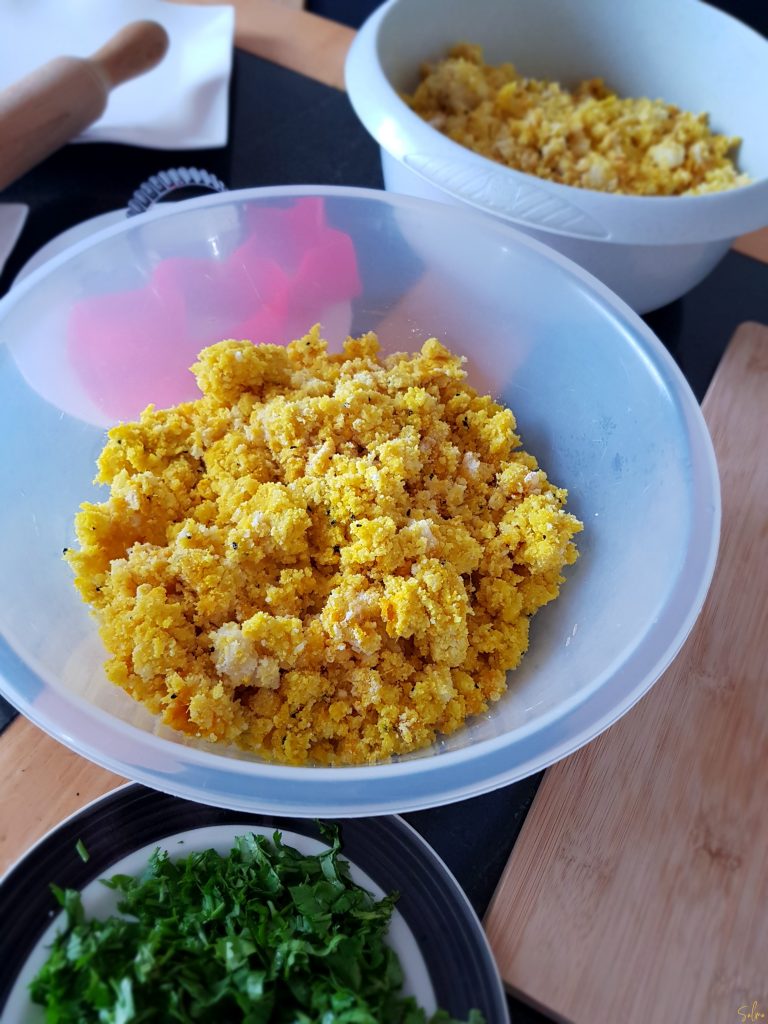
Now place the dough divided in bowls or spread it out on a clean surface for it to slightly cool. Don't let the dough get too cold- it's best to knead while still hot so it binds nicely.
13

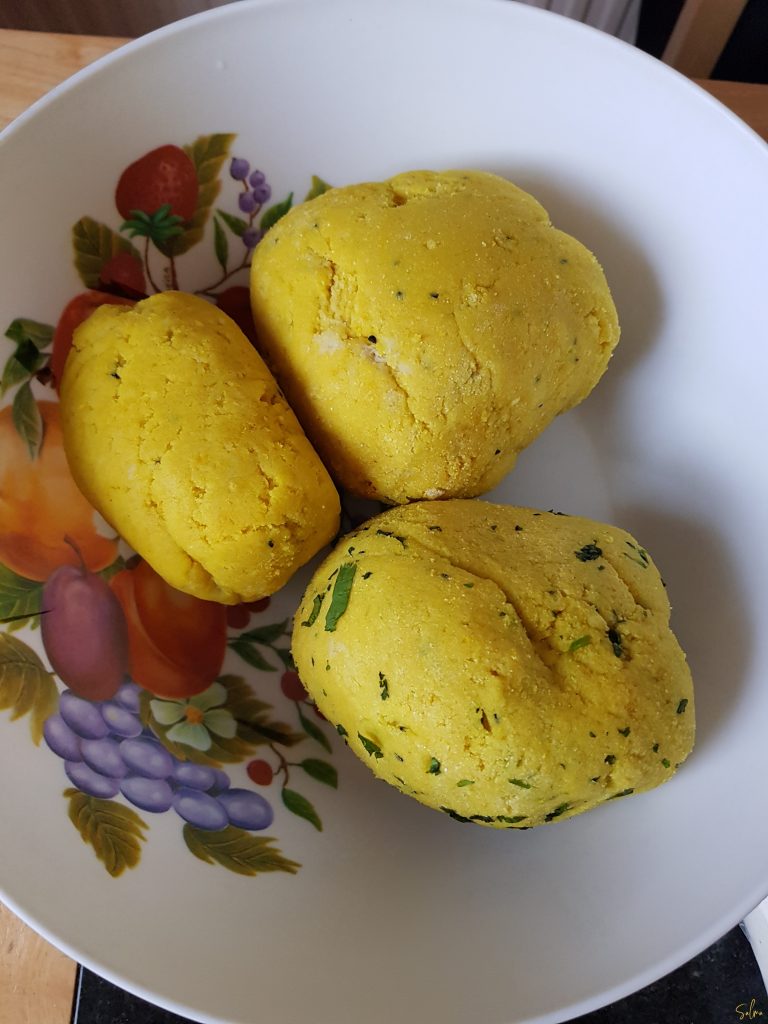
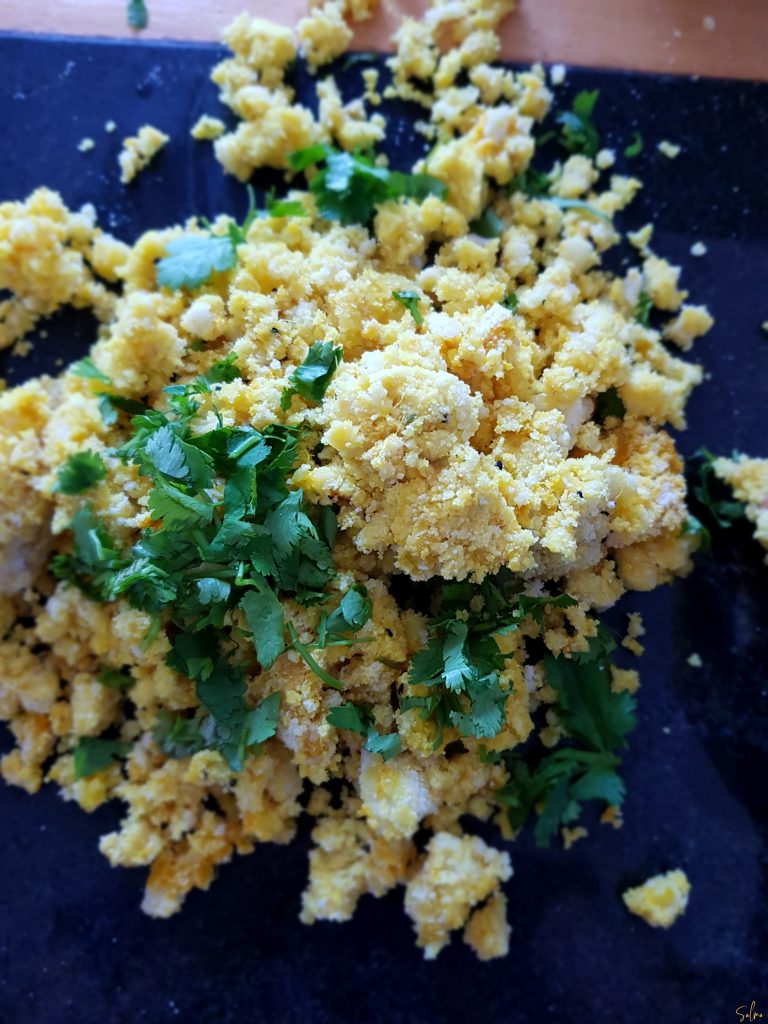
I've added some chopped coriander to half of my mix while kneading. You have to knead the dough properly until it's smooth using both of your hands.

I added some extra flour to the dough while kneading to get the perfect texture. If you find it dry then add drops of water to make a nice smooth dough.

Some people prefer to use dough mixer here at the start so it makes the kneading process a bit easier.
14

I made four of these in the picture.

15

Take a good amount to roll out a big circle. The circle shouldn't be too thick or thin.
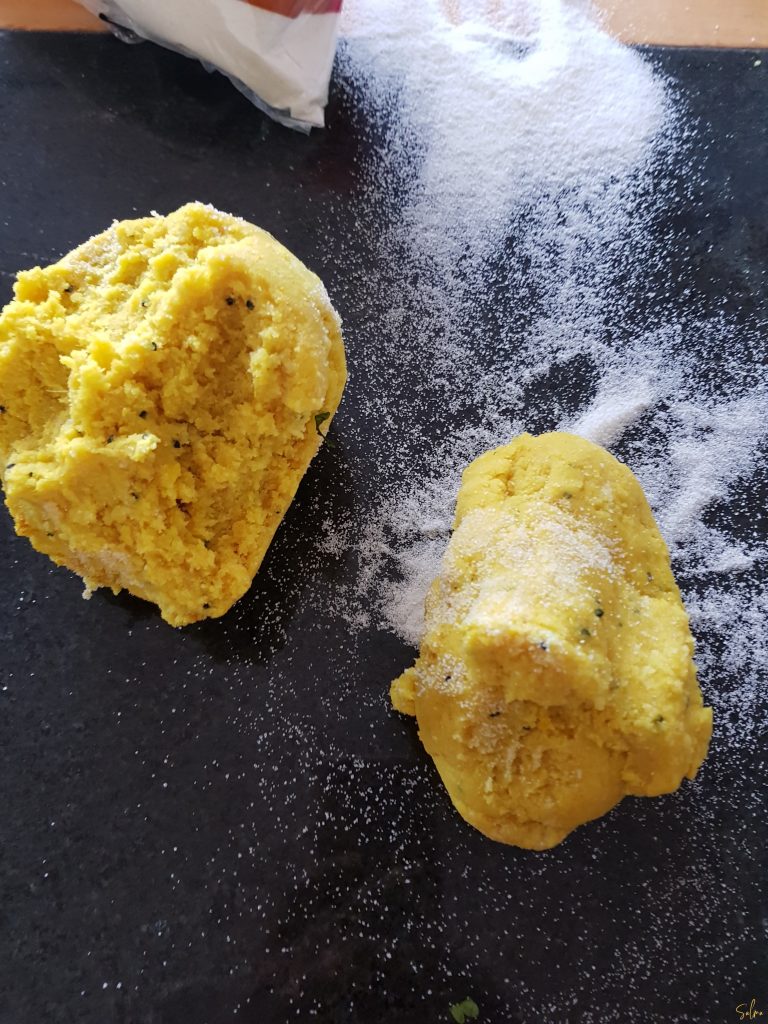
16

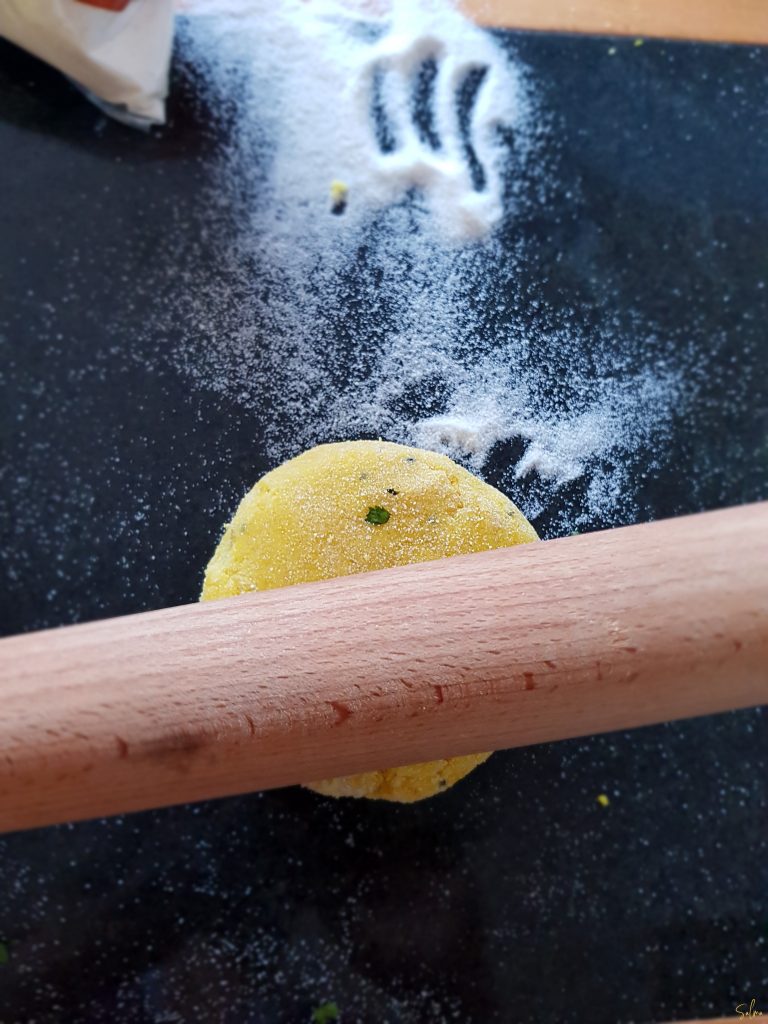
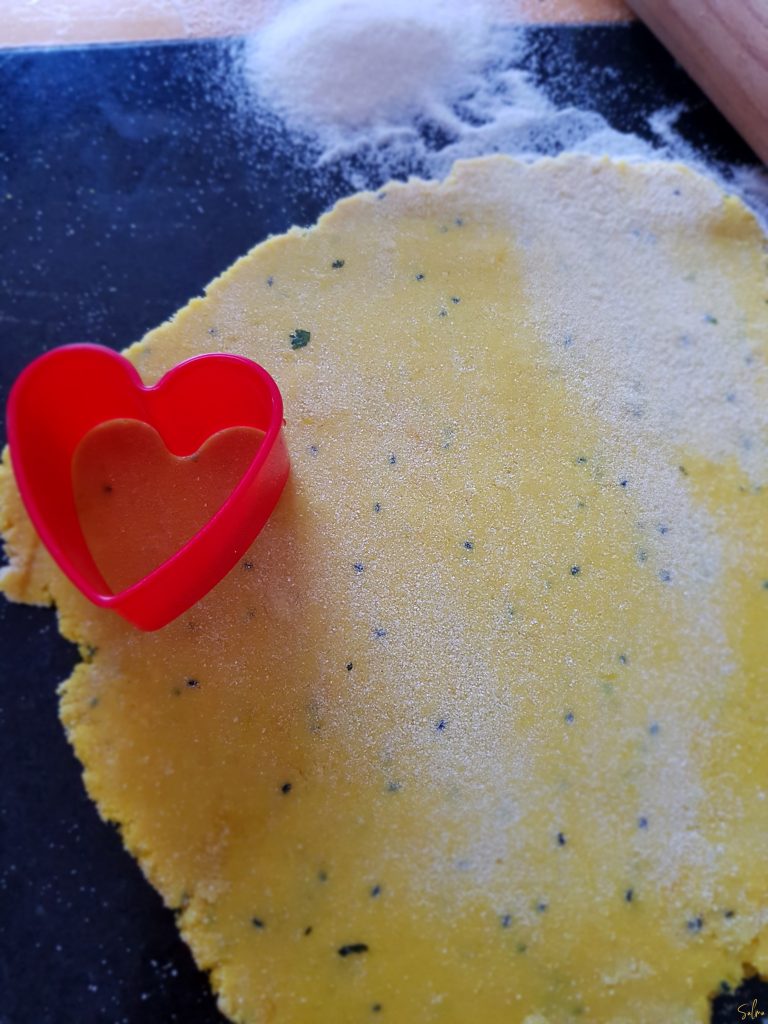
Add some flour on top and some on the surfacing you'll be rolling it on.
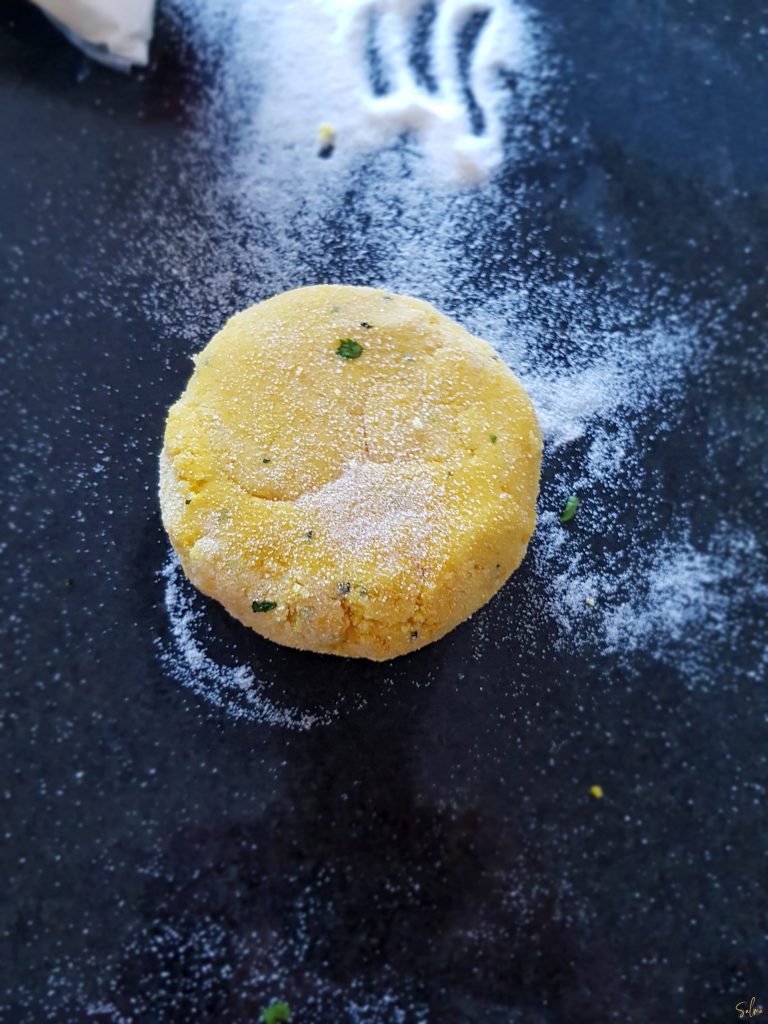
17

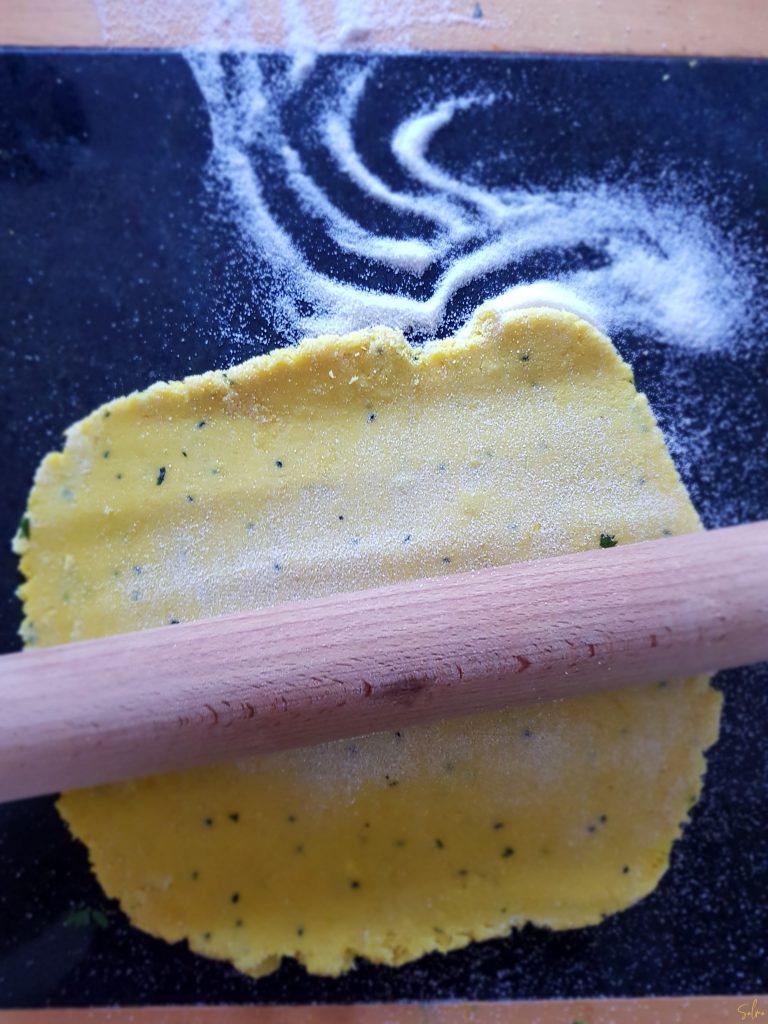
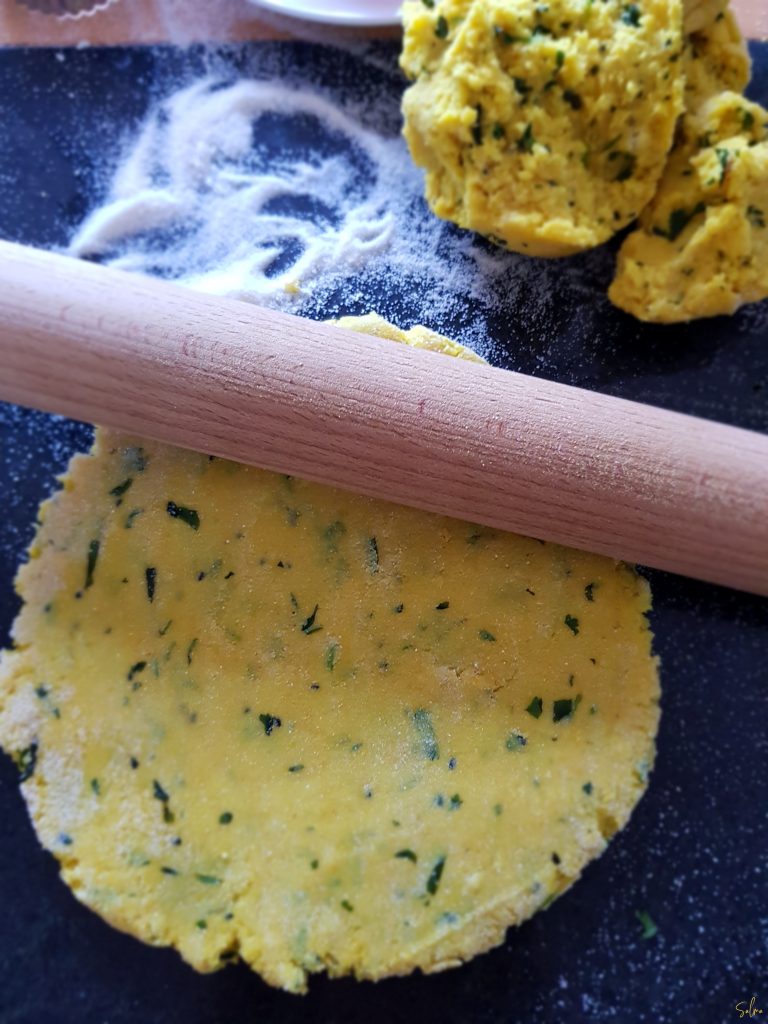
Roll this out nicely.

18

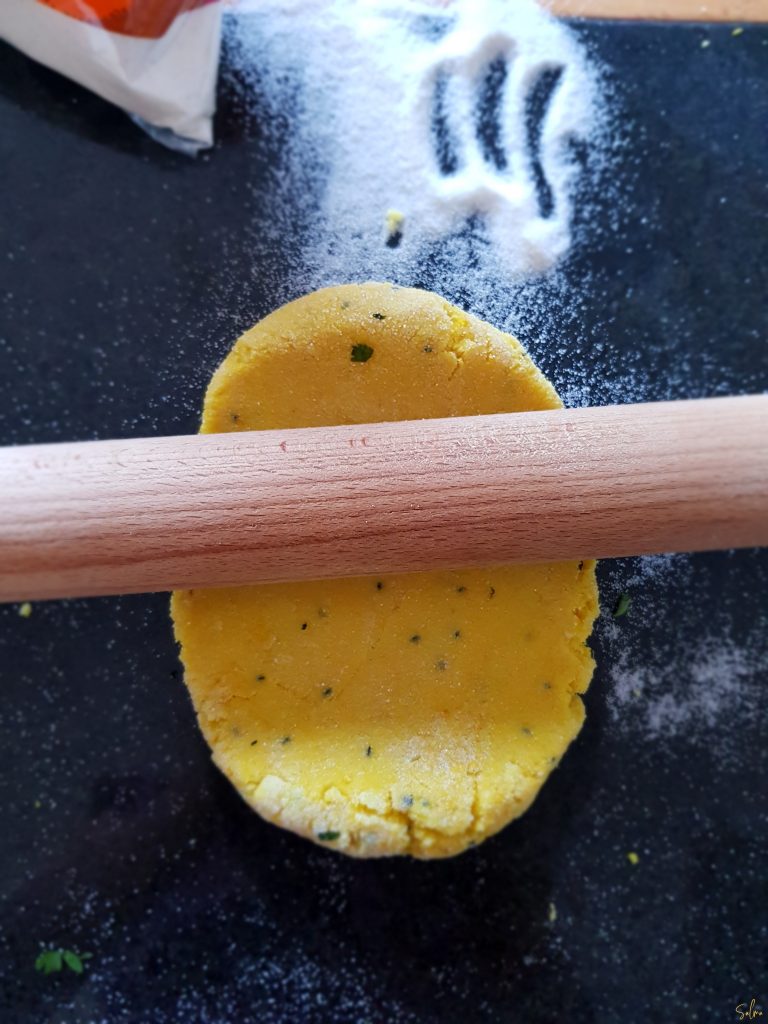
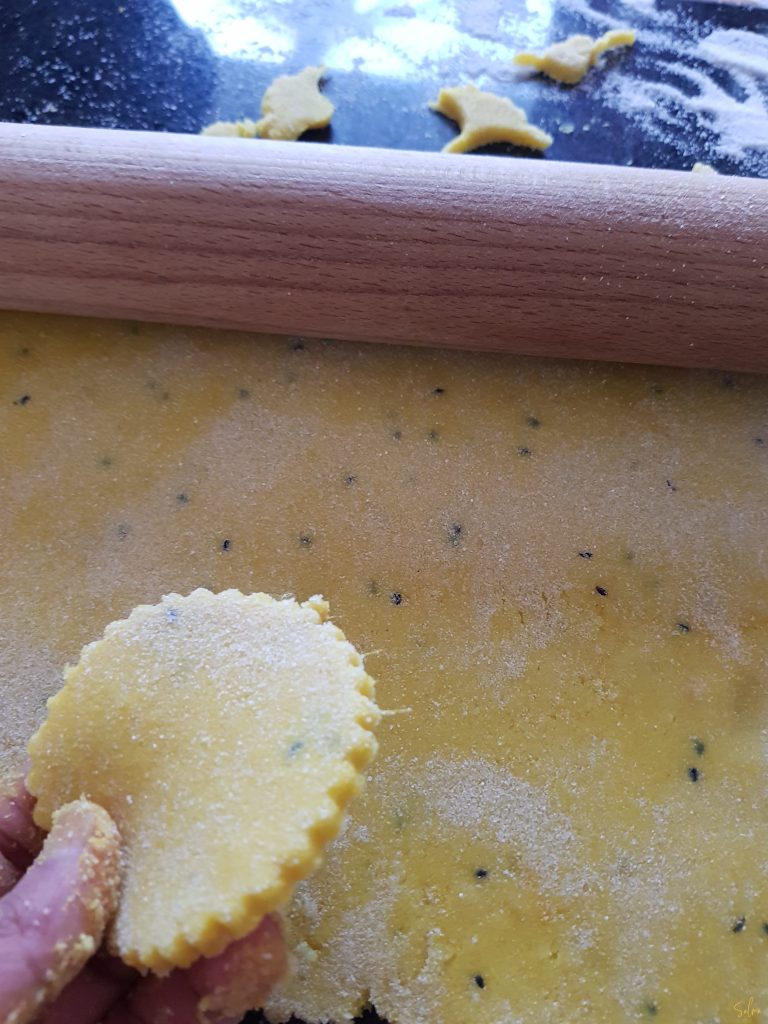
Should start to look like this.

19

Using flour on top and bottom makes it easier to roll the dough. I used ground rice flour but you can use the rice flour too. Keep rolling until you have created a big circle.
20

Once it's ready, start cutting the shapes from the edge- this is to avoid too much excess dough coming out.
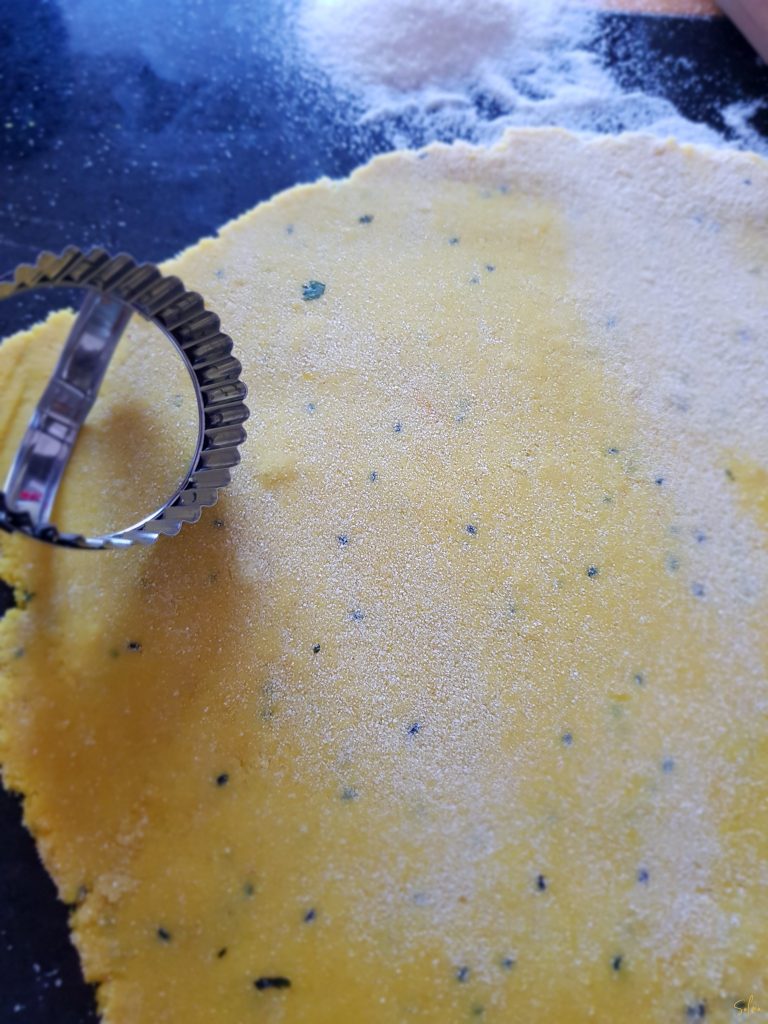
21

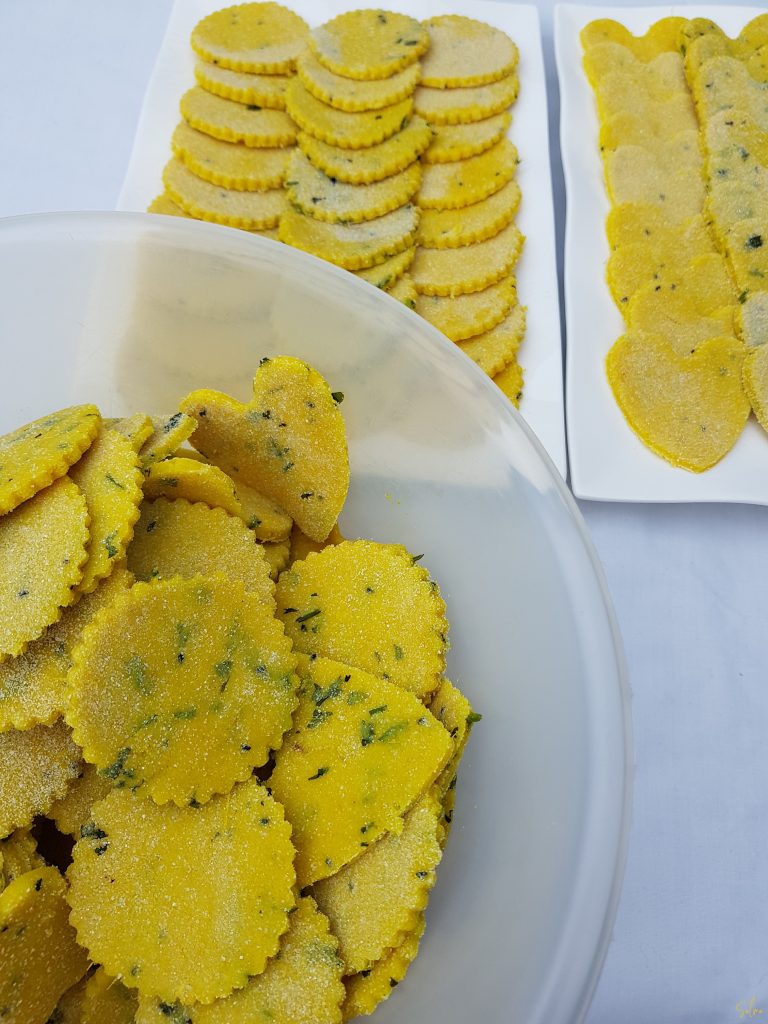
Use any shapes of your choice.

22

I did different shapes.

23

Repeat the process for all the remaining batches.

For my last one, I always use a knife to cut it into any shapes so I don't keep having to deal with any excess dough coming out.
24

All done!

25

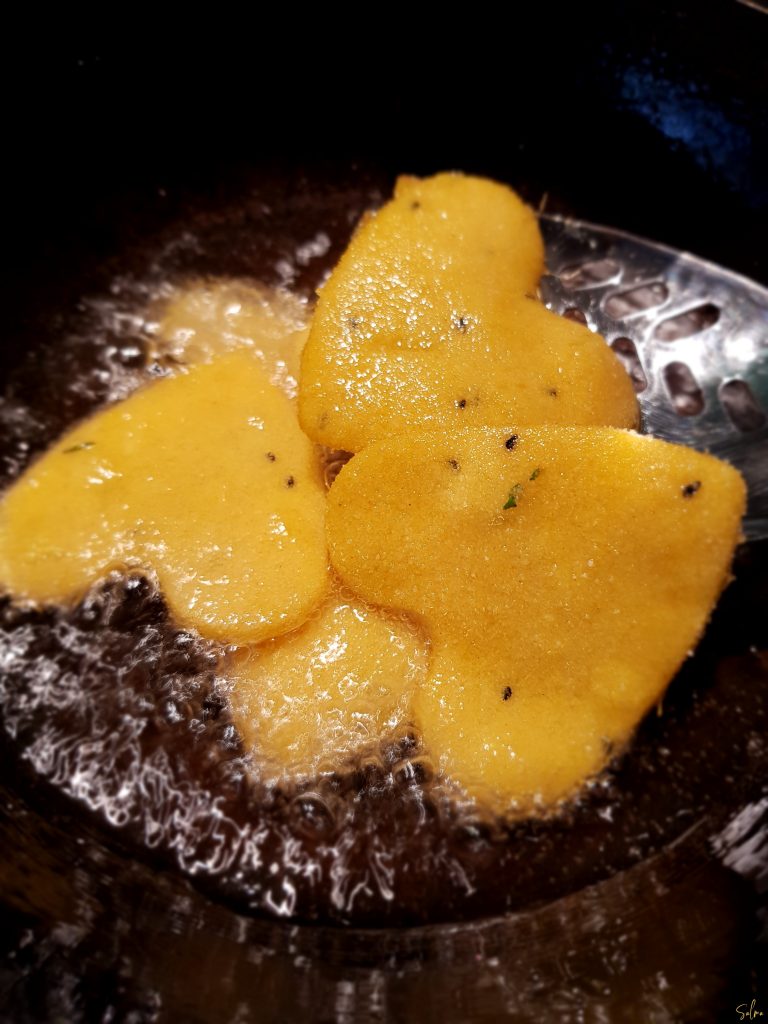
You can deep fry them fresh.

26

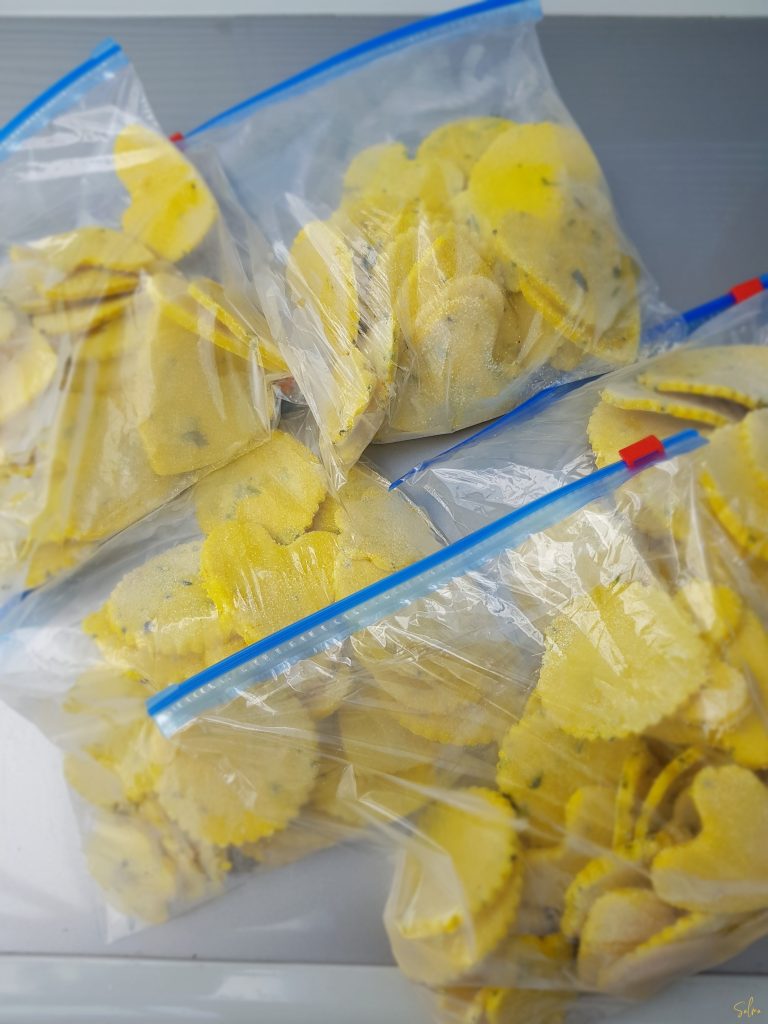
To freeze them, you have to make them a bit solid in batches on a flat tray/plate. You can slightly over lap them but make sure to sprinkle some flour before over lapping them so the dough doesn't get stuck together. I normally freeze them in batches over two days if there is too much- just keep them in the fridge in a good airtight container if you do this.

Once they turn solid in the freezer on a tray/plate, place them in food bags and freeze them again.
Ingredients

For Dough
 700 g Ground Rice Flour
 700 g Rice flour
 3 ½ inches of Ginger
 3 Onions medium
 Salt to taste
 1 ¼ tsp Tumeric powder
 900 ml Cold water
 1 tsp Nigella seeds/Kalonji (optional)
 6 tbsp Fresh coriander
For Pastry
 Extra rice flour
 Pastry cutters/Biscuits cutters
 Rolling pin
 Food bags to freeze them in

Directions

1

Here are the ingredients I've used.

This is my mum's recipe and she uses two types of flour for a nice texture for the dough to give it a crisper taste. If you prefer to use the smooth flour only then double the measurement to make a generous amount like me.

Peel the onions and cut them in big cubes. Peel the ginger and chop them in small cubes. As a guide you should have just under one cup of ginger or a bit more.

2

Place them in the blender, add a little amount of cold water and blend this into a thick paste.

3

In a big high up non stick pot, add 900ml of cold water, put the gas up and bring this to boil. Once the water starts boiling, add in 1 & 1/4 Tsp of tumeric powder.

4

Add in the salt to taste, onion & ginger paste. You don't have to mix this in.

5

Add in the flours- 700g from each packet.

6

Put the gas up, cover and cook. The mixture will start bubbling up.

7

Once it starts bubbling up, uncover and give it a good mix.

8

Should look like this.

9

At this point you can add the nigella seeds & coriander. I added nigella seeds only and only added coriander to half of the batch while kneading it.

At this stage you can also taste the salt and add more if required.

10

Mix again properly and cook covered on low heat for 15-20 minutes so the dough cooks fully.

11

Once the dough is cooked, turn the gas off.

12

Now place the dough divided in bowls or spread it out on a clean surface for it to slightly cool. Don't let the dough get too cold- it's best to knead while still hot so it binds nicely.

13

I've added some chopped coriander to half of my mix while kneading. You have to knead the dough properly until it's smooth using both of your hands.

I added some extra flour to the dough while kneading to get the perfect texture. If you find it dry then add drops of water to make a nice smooth dough.

Some people prefer to use dough mixer here at the start so it makes the kneading process a bit easier.

14

I made four of these in the picture.

15

Take a good amount to roll out a big circle. The circle shouldn't be too thick or thin.

16

Add some flour on top and some on the surfacing you'll be rolling it on.

17

Roll this out nicely.

18

Should start to look like this.

19

Using flour on top and bottom makes it easier to roll the dough. I used ground rice flour but you can use the rice flour too. Keep rolling until you have created a big circle.

20

Once it's ready, start cutting the shapes from the edge- this is to avoid too much excess dough coming out.

21

Use any shapes of your choice.

22

I did different shapes.

23

Repeat the process for all the remaining batches.

For my last one, I always use a knife to cut it into any shapes so I don't keep having to deal with any excess dough coming out.

24

All done!

25

You can deep fry them fresh.

26

To freeze them, you have to make them a bit solid in batches on a flat tray/plate. You can slightly over lap them but make sure to sprinkle some flour before over lapping them so the dough doesn't get stuck together. I normally freeze them in batches over two days if there is too much- just keep them in the fridge in a good airtight container if you do this.

Once they turn solid in the freezer on a tray/plate, place them in food bags and freeze them again.

Notes

Nunor Bora
(Visited 6,247 times, 1 visits today)

7 Comments

  1. Khaleda 16 May 2020 at 22:05

    Looks so delicious. I love eating nunor bora

    Reply
  2. Anessa 22 May 2020 at 16:55

    I tried these today..1st time So simple and easy to follow…..❤️❤️❤️
    They puffed up when frying and looked amazing.. Give it a try thefamily will love it!

    Reply
  3. Bilkis Choudhury 25 May 2020 at 00:14

    Allhamdullilah.. first I would like to say a big thank you to sister Salma for sharing all her amazing recipes… She truly is a star🌟 I’m so glad that she has shared traditional recipes which our mum’s can whiz up in a jiffy but we struggle. I made these nonur Bora’s today and they turned out perfect allhamdullilah! The whole family were very impressed… Thank you once again sis 😘♥️🤗

    Reply
  4. Hawa 18 September 2020 at 13:05

    Mine never puff up :(! Can I ask what the reason for this may be? I have to fry them for ages and they turn a bit brown 🙁

    Reply
    1. Avatar photo Salma 21 January 2021 at 07:57

      Sometimes this can depends on the flour itself.

      Reply
  5. Shahida Islam 10 July 2021 at 08:48

    I’m abit confused. In the written instructions you didn’t mention plain flour and the amounts are different. Which one do I follow? Thanks

    Reply
    1. Avatar photo Salma 10 July 2021 at 11:13

      Hi, the Youtube recipe and this one is slightly different and you can follow any. In the YT one I added plain flour as this makes the texture softer.

      Reply

Leave A Comment

Your email address will not be published. Required fields are marked *